syncthing – syncing data between devices

after some searching I stumpled upon syncthing to provide a syncing services for my devices being mobile phone, tablet and laptop

To sart the syncthing server on system start on debian some tweeks are necessary as follows:

enable systemd service

systemctl enable syncthing@<user>.service

edit the systemctl sart script in /lib/systemd/system/syncthing@.service

modify the ExecStart line by adding a

  • home=”/etc/syncthing/”

now you may start the service by using

systemctl start syncthing@<user>.service

Relay Server

URI: relay://0.0.0.0:22067/?id=TWAOBY2-LPEGPI7-NQDH3BN-G2DTBQG-MKS4BNO-HGS4XGC-OJJMUFA-CDXCKAV&pingInterval=1m0s&networkTimeout=2m0s&sessionLimitBps=0&globalLimitBps=0&statusAddr=:22070&providedBy=

git cli

To backup my arduino sketches I will use a remote git repository hosted on my own server. So lets start

  • git init – initialize a new local repository
  • git clone @: – check out/clone from a remote reporitory

The local repo is devided into a working copy, the index as interim stage und the head which is a link to the last commit.

  • git add – add a file to local repository
  • git commit -m “
  • git push origin master – sync local repository with remote repo

If the local repo was not cloned but should be linked to a remote repository use:

  • git remote add origin

To sync the local repository use:

  • git pull – fetch remote changes and merge them with the local files
  • git add – inform git about solved merge problems after solving

Summary:

git init

git add .

git commit -am “

git remote add origin @:

git push -u origin master

drraw – create new graph

Recently I switched to collectd for keeping track on long term variantions within my little server landscape. Even that munin was less pain to install and initiate the burden for the simple servers I use are much too high. So something smaller and easier to maintain was needed and I found collectd. Easy tool but without any graphing option. So I came across drraw for the visualization. Also a very simple tool with no overhead but also with a very limited documentation.

Installation of collectd and drraw in Debian Linux is quit forward, so just use apt-get install and your done.

Even the configuration of the plugins for collectd is easy. So finally I needed to switch to a centralized logging configuration using the following two options:

collectd-server:

<Plugin network>
Listen “Server ip”
</Plugin>


collectd-client:

<Plugin network>
Server “server ip”

</Plugin>


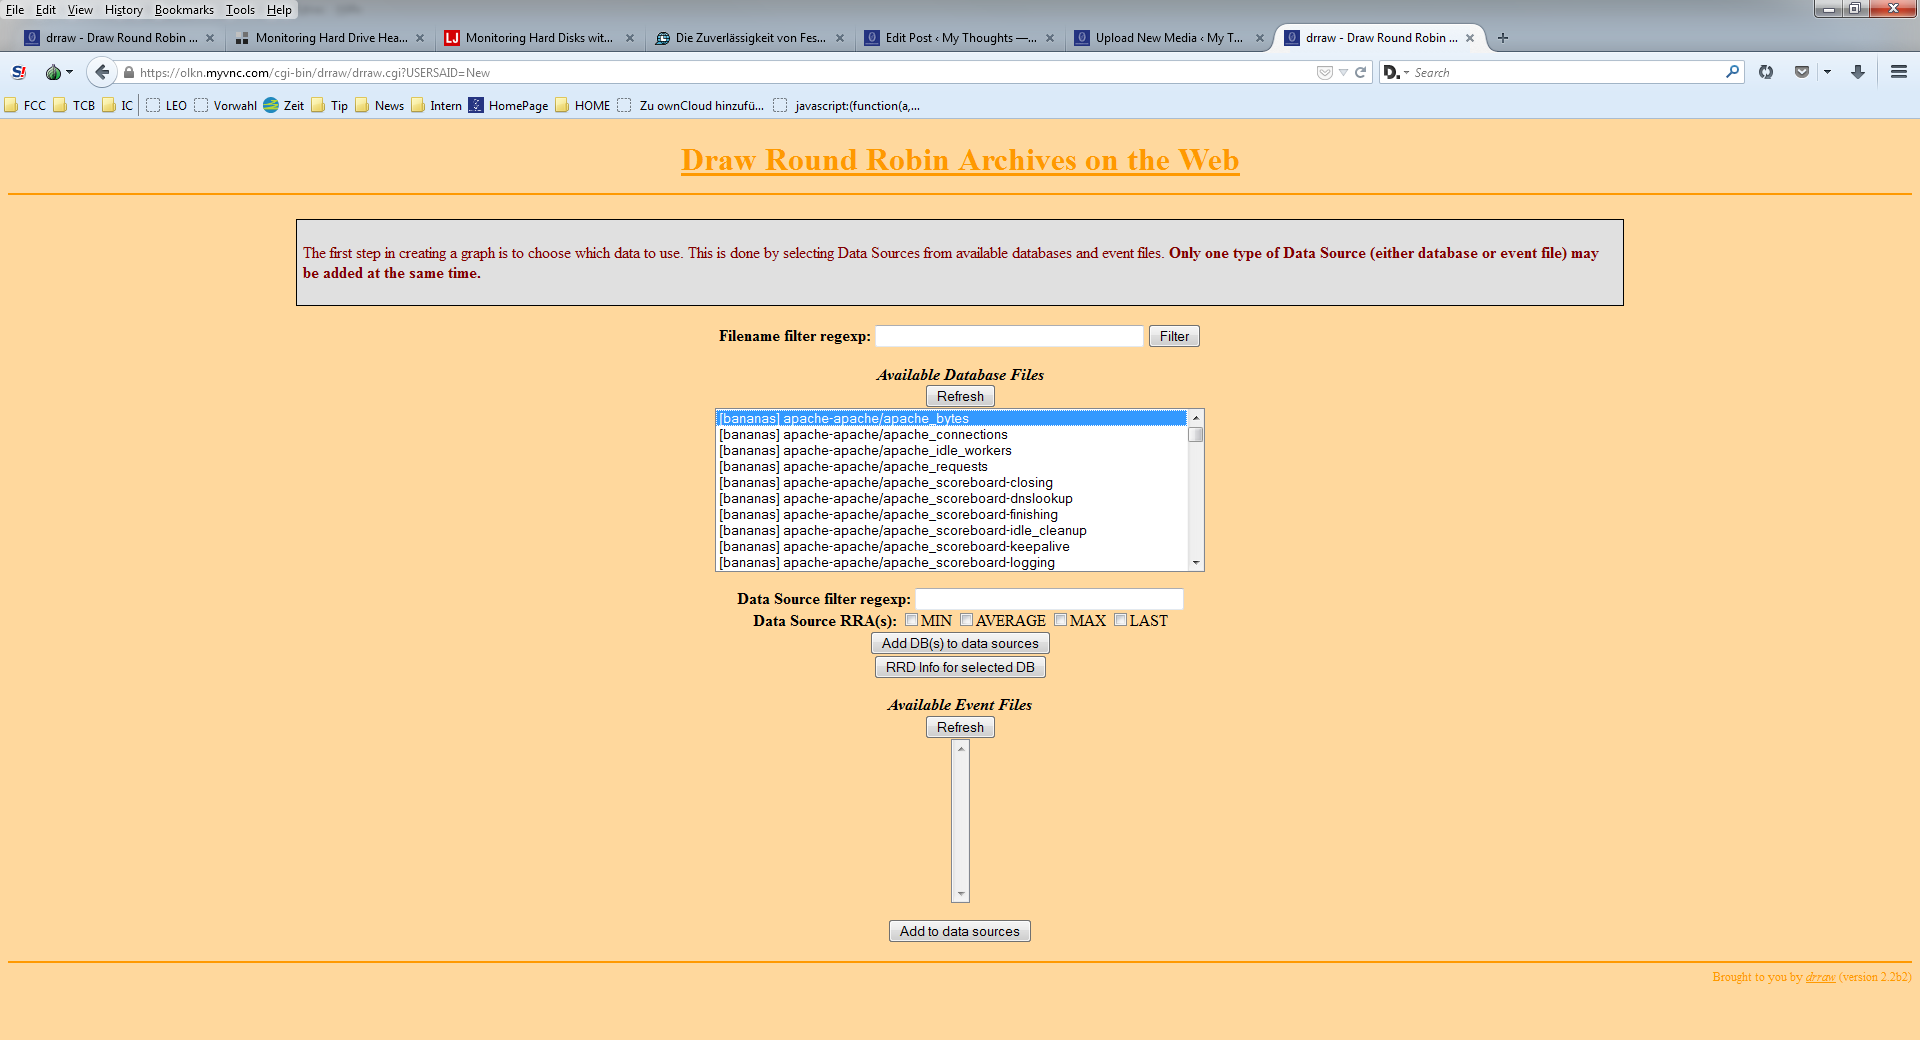
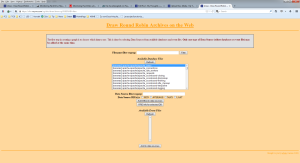
For drraw to generate nice looking graphs it took me more effort.So first of all grant access to drraw.cgi in your webserver config and then start using it: http://localhost/cgi-bin/drraw/drraw.cgi

drraw-start

Of course we need to create a graph now which includes as a first step to choose the rrd source

drraw-create-graph

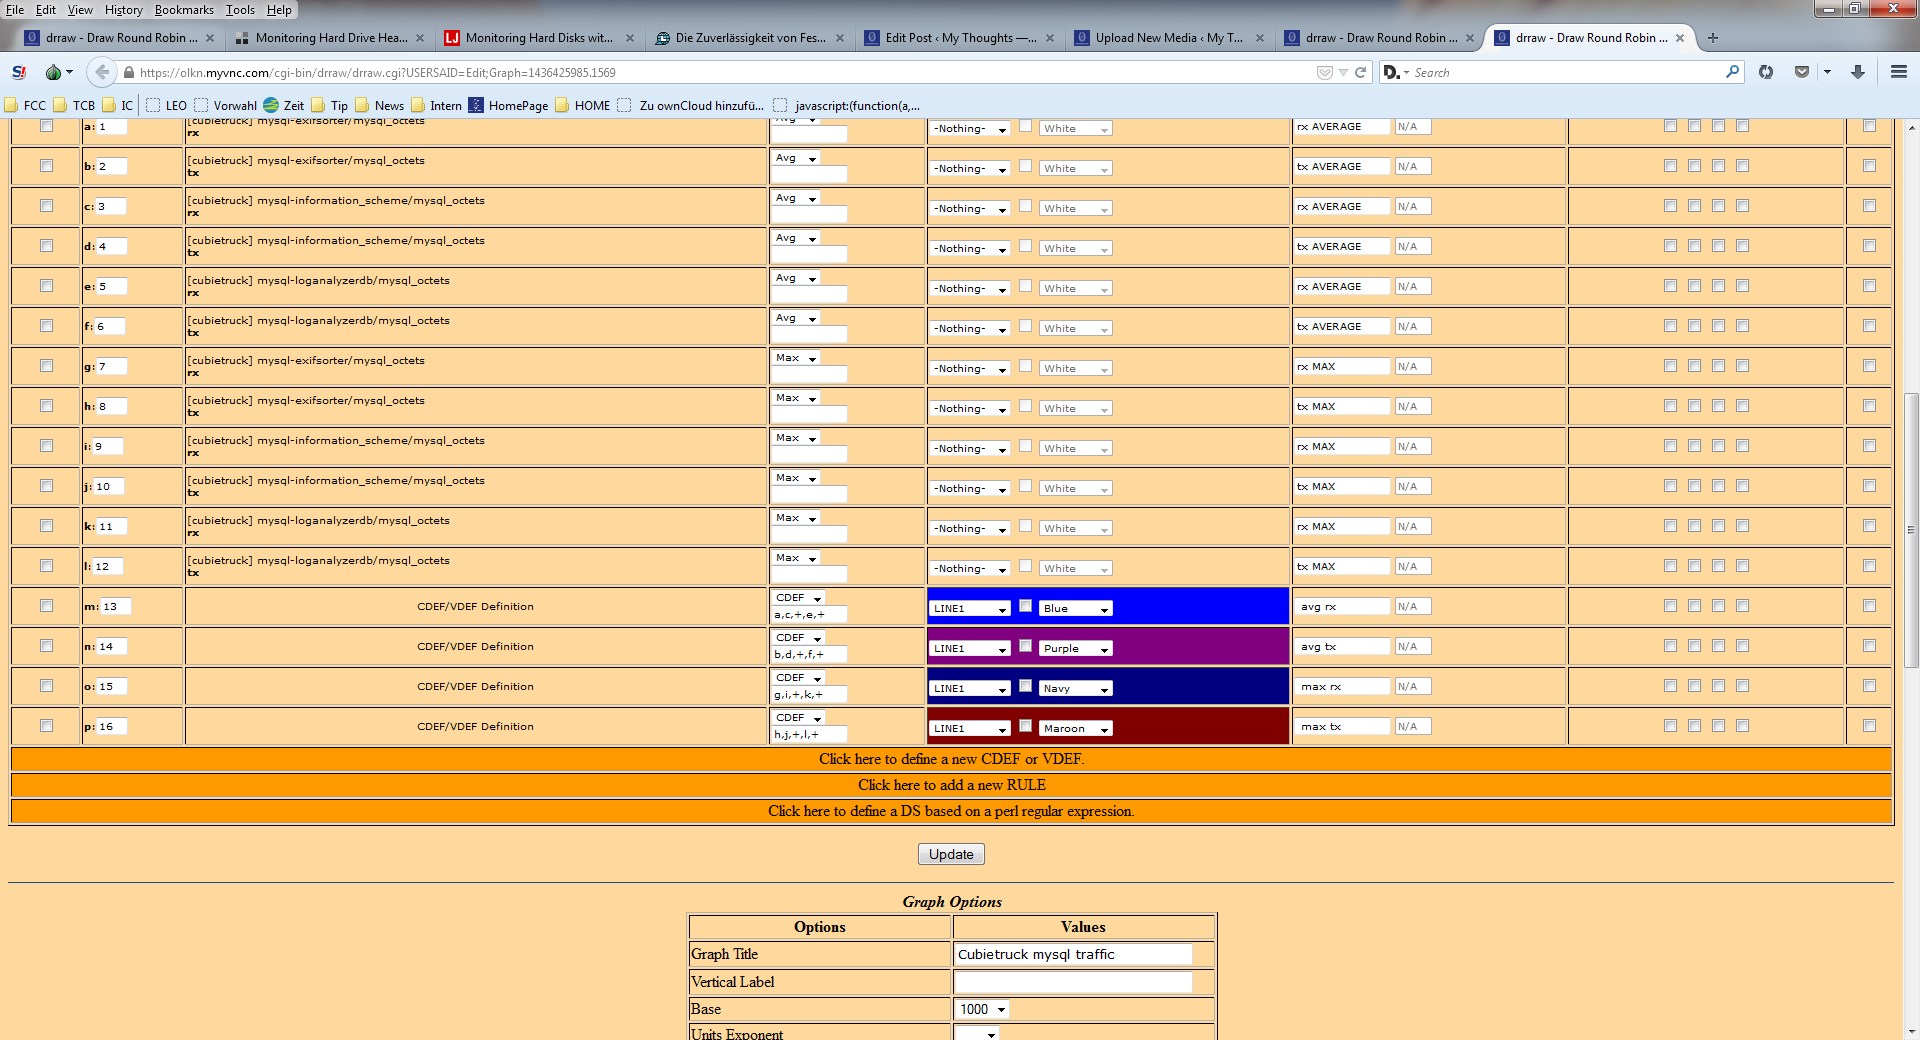
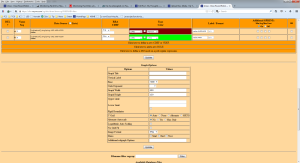
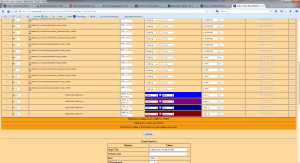
The next step is to define the graph with lines, colors, caption, etc.


drraw-create-graph-2

drraw-create-graph3

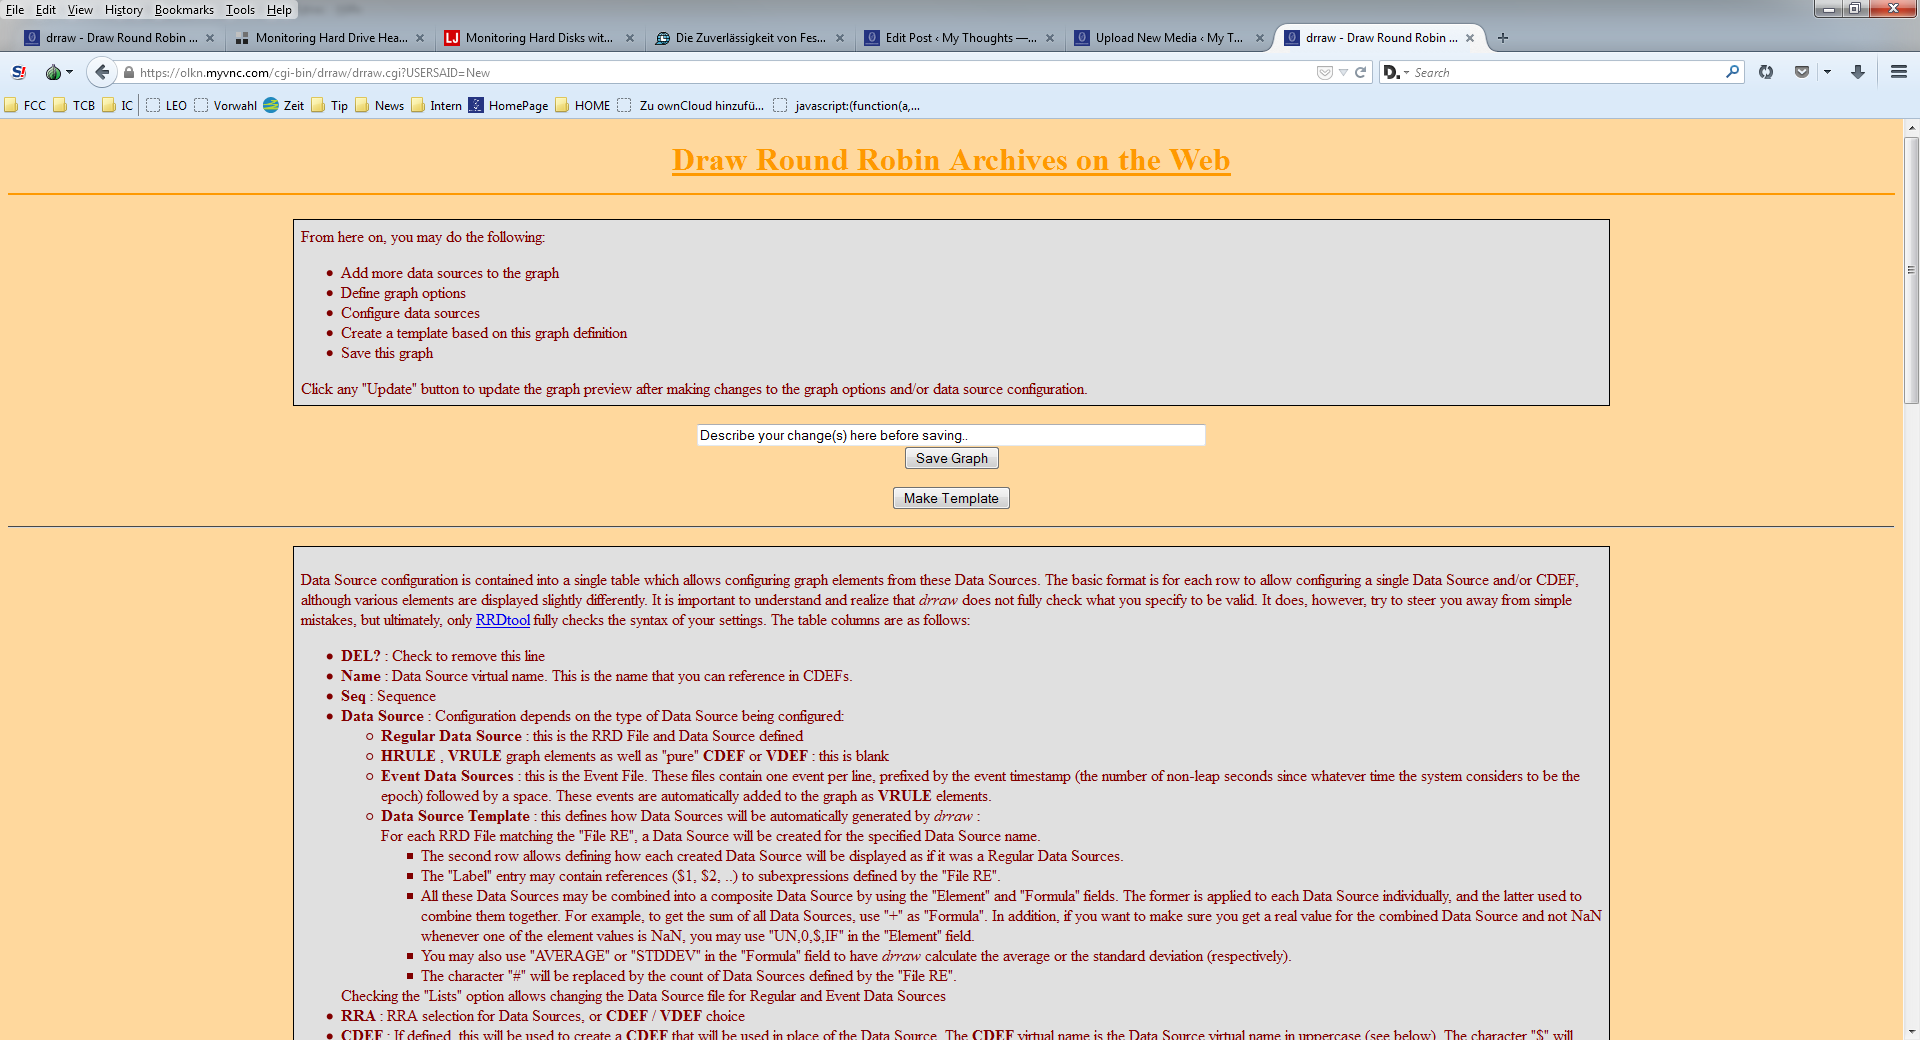
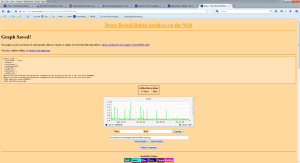
And finally the graph must be saved in order to be kept for later view

drraw-save-graph


And now some words about rpn (reverse polish notation) which is the system used by rrdtool to do the arithmetics. I just needed some additions but even this costs me some time to get right. Here is an excerpt:

drraw-rpn-example

to add four lines named a,b,c,d to one resulting line an CDEF must be created with the following data source: a,b,+,c,+,d,+


ssh without password – certificate based

create keys:
ssh-keygen -t rsa
ssh-keygen -t dsa

or even more detailed:
ssh-keygen -f -C -N -t rsa
ssh-keygen -f id_rsa -C "Keyfile for server" -N "" -t rsa


which will create the files id_rsa/id_dsa and id_rsa.pub/id_dsa.pub respectively. To copy the public keys to the target machine you may use:
ssh-copy-id -i id_rsa.pub user@remote-system
ssh-copy-id -i id_dsa.pub user@remote-system

or you may use ssh to copy the files:
cat *.pub | ssh user@remote-system 'umask 077; cat >>.ssh/authorized_keys'

Note that the key file is only one line and must remain one line also in the authorized_keys file.
To get access to the server via normal ssh shell the server is asking for a verification which will be generated by the client using the private key and the corresponding private passphrase. You may omit this part by leaving the passphrase empty when generating the keys.

The public keyfile part must be inserted as one line to the server side .ssh/authorized_keys file.
To explicetely connect to a remote server using a key file you use the command:
slogin -i ~/.ssh/secret-key-file remotehost


You may even further restrict the access to the remote server by including some options in the authorized_keys file like this:
#
from="client1",no-port-forwarding,no-pty ssh-rsa AAAAB
3NzaC1yc2EAAAABIwAAAQEAybmcqaU/Xos/GhYCDkV+kDsK8+A5OjaK5WgLMqmu38aPo
56Od10RQ3EiB42DjRVY8trXS1NH4jbURQPERr2LHCCYq6tHJYfJNhUX/COwHs+ozNPE8
3CYDhK4AhabahnltFE5ZbefwXW4FoKOO+n8AdDfSSOazpPas8jXi5bEwNf7heZT++a/Q
xbu9JHF1huThuDuxOtIWl07G+tKqzggFVknM5CoJCFxaik91lNGgu2OTKfY94c/ieETO
XE5L+fVrbtOh7DTFMjIYAWNxy4tlMR/59UVw5dapAxH9J2lZglkj0w0LwFI+7hZu9XvN
fMKMKg+ERAz9XHYH3608RL1RQ== This comment describes key #1
#
#
from="*.domain",no-X11-forwarding,noagent-forwarding ssh-rsa
AAAAC4MybC1yD2EAAAABIwAAAQEAybmcqaU/Xos/GhYCzkV+kDsK8+A5OjaK5WgLMqm
u38aPo56Od10RQSEiB42DjRVY8trXS1NH4jbURQPERr2LHCCYq6tHJYfJNhUX/COwHs
+ozNPE83CYDhK4XhabahnltFE5ZbefwXW4FoKOO+n8AdDfSXOazpPas8jXi5bENf7he
ZT++a/Qxbu9JHF1huThuDuxOtIWl07G+tKqzggFVknM5CoJCFxaik91lNGgu2OTKfY9
4c/ieETOXE5L+fVrbtOh7DTFMjIYAWNxy4tlMR/59UVw5dapAxH9J2lZglkj0w0LwFI
+7hZu9XvNfMKMKg+ERAz9XHYH3608RL1RQ== This comment describes key #2

    Problems:

A possible problem may be the access rights for the files under .ssh/ and especially .ssh/authorized_keys which must only be accessible by the owner.
The public key file must be appended to the detsination hosts ~/.ssh/authorized_keys file.
The secret private key is stored on the client machine you are trying to connect to the remote machine from.

Firefox Sync Server

After getting a lot of trouble with the Xmarks sync on the quit old iceweasel that is installed on my desktop machine (Debian lenny), I decided to look for alternatives and found the firefox sync server. To run my own sync server I followed the installation instructions from mozilla and also some other nice guides available via websearch. Here are the basic steps:
get the necessary packages:
aptitude install python-dev mercurial sqlite3 python-virtualenv

Create a new user for the sync server using the apropriate commands and include www-data, the apache user, in the newly created group to give acces to the python script.

install the server from source:

$ hg clone https://hg.mozilla.org/services/server-full
$ cd server-full
$ make build

Create some directories as there are

  • data for the sqlite files – I will switch to mysql very soon
  • tmp for some temporary python files
  • logs just to keep the synchronisation logs seperate from the rest – I am not sure about access rights when writing directly to the logs directory

And now edit the configuration files:

$ vi sync.wsgi
[..]

os.environ['PYTHON_EGG_CACHE'] = '/path/to/tmp/python-eggs'

[..]

$ vi development.ini

[..]

[handler_syncserver_errors]
class = handlers.RotatingFileHandler
args = (‘/path/to/logs/sync-error.log’,)
[..]


$ vi etc/sync.conf

[..]

[storage]
backend = syncstorage.storage.sql.SQLStorage
sqluri = sqlite:////path/to/data/usersettings.db
[..]

[auth]
backend = services.auth.sql.SQLAuth
sqluri = sqlite:////path/to/data/usersettings.db

[..]

fallback_node = https:///
[..]

And finally add the directives for apache to access the wsgi interface:

WSGIProcessGroup ffsync
WSGIDaemonProcess ffsync user=ffsync group=ffsync processes=2 threads=25
WSGIPassAuthorization On
WSGIScriptAlias /ffsync /home/ffsync/server-full/sync.wsgi